Replacing an old stereo may feel stressful, but the right steps make it easier. This car stereo installation guide explains the process in simple words, so drivers can understand what happens before, during, and after the upgrade.
At Audiomotive, we believe better sound should feel clear, safe, and practical. Whether you want cleaner music, modern features, or help from a car head unit installer, this guide gives you a simple path forward.
Know Your Car Stereo Before Starting The Upgrade
Your stereo, also called the head unit, controls music, radio, Bluetooth, and other inputs. It connects to speakers, an antenna, and wires behind the dashboard. Therefore, knowing these parts helps you feel more ready before removing anything.
A car stereo upgrade can replace a basic factory unit with a newer system. Some units include touchscreens, phone connection, and better sound controls. For more help with car audio in San Jose CA, our car audio installation service explains what we can handle.
Gather The Right Tools That Make Work Easier
Good preparation keeps the job smooth from the start. Before any car stereo installation, place your tools in one clean area with enough light. As a result, you can avoid delays, lost screws, and rushed mistakes.
- Screwdrivers for trim screws and stereo brackets.
- Panel tools to remove dashboard pieces safely.
- Wiring harness adapter for cleaner wire matching.
- Dash kit made for your vehicle model.
- Electrical tape, connectors, and zip ties for safe wiring.
Prepare Your Vehicle First For Safe Dashboard Work
Safety comes first before opening the dashboard. Turn off the ignition, set the parking brake, and disconnect the negative battery cable. This step helps prevent short circuits while you work around the stereo wires.
- Remove items from the console and glove box.
- Check your vehicle guide for hidden screws or clips.
- Keep a small container nearby for removed parts.
- Work slowly, especially near thin plastic trim.
Remove The Old Unit Without Damaging Trim
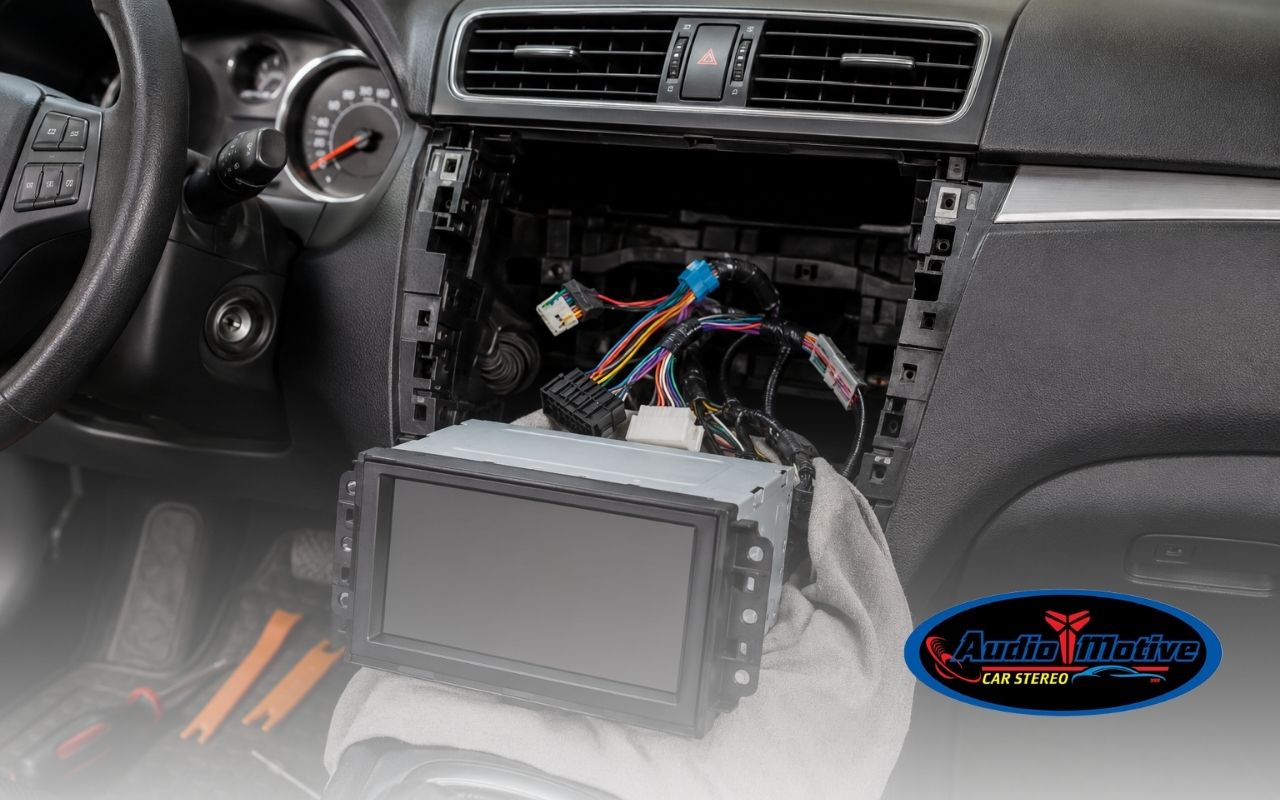
Start by loosening the dash trim with a gentle hand. Move around the edges and release each clip slowly. Then remove the screws or bolts holding the old stereo in place.
After that, slide the unit forward and unplug the wiring harness. Remove the antenna cable as well. If something feels stuck, do not force it. With Audiomotive, you can ask for guidance before a small issue becomes dashboard damage.
Connect Wires Carefully For Clear Reliable Daily Sound
Wiring is the part where patience matters most. During car stereo installation, match the new stereo harness to the adapter for your vehicle. Common wires include power, ground, speaker wires, and antenna or amp connections.
Next, secure each connection with proper connectors or solder when needed. Cover exposed wire and route extra cables away from heat or moving parts. This care helps reduce buzzing, weak sound, and loose connections later.
Test And Secure Your New Audio System Properly
Reconnect the battery before closing the dashboard. Turn the key, power on the stereo, and test each speaker at low volume. This check confirms the car stereo installation is working before the panels go back on.
- Test radio, Bluetooth, USB, and auxiliary inputs.
- Check left, right, front, and rear speaker balance.
- Listen for crackling, buzzing, or missing sound.
- Tighten mounting screws without cracking plastic parts.
- Bundle extra wiring so it does not pull loose.
Frequently Asked Questions
Can I install a new stereo by myself?
Yes, many drivers can do it with the right tools and clear instructions. However, some vehicles have complex wiring or tight dashboard spaces. A stereo shop in San Jose can help when the job feels risky.
When should I call a professional installer?
Call a professional when wires are unclear, panels feel stuck, or the new unit needs special features. Our team at Audiomotive helps drivers choose the safest next step for their vehicle.
Will a new stereo improve my sound quality?
Yes, a better head unit can improve clarity, control, and connection options. Still, speakers and wiring also affect the final sound. Therefore, a full system check may bring better results.
Do I need a dash kit for my vehicle?
Most aftermarket stereos need a dash kit to fit cleanly. The kit fills gaps and supports the unit. As a result, the stereo looks better and stays firm while you drive.
How do I avoid wiring problems?
Use the right harness adapter, match wires carefully, and test before closing the dash. If the car stereo installation does not power on, disconnect the battery and review each connection.
Enjoy Better Sound With Support From Our Team
Once the dashboard is back together, enjoy your cleaner sound and easier controls. A well-planned upgrade can make daily driving more comfortable, especially when music, calls, and directions work smoothly.
When you contact Audiomotive, we explain your options in a clear way. You can visit our main car stereo resource or use our contact page to ask about your next upgrade.