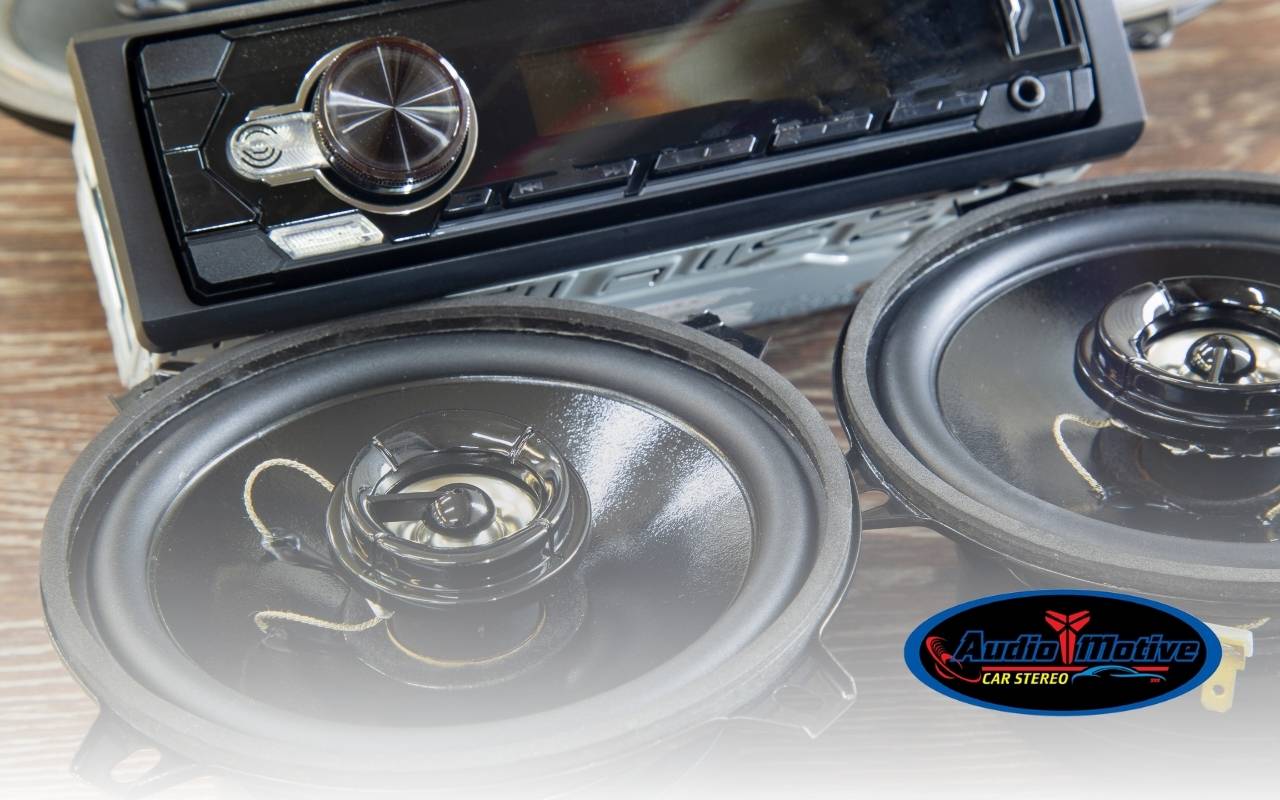
A Big 3 Upgrade for Car Audio in San Francisco, CA helps your favorite songs come to life with fresh energy and clarity. If you love music and driving, you may notice your car audio does not always sound its best. Weak bass or struggling speakers often come from one main source: the vehicle’s electrical system.
This is where the Big 3 upgrade steps in and gives your sound system what it has missed. By upgrading three key wires in the charging system, you reduce car audio voltage drop and improve power flow. As a result, your speakers and amplifiers get steady power and your daily drive feels closer to a live concert.
Big 3 Upgrade for Car Audio in San Francisco, CA: How It Works
To understand the Big 3 upgrade, start with how your car’s electrical system feeds your audio gear. When you raise the volume, the wiring must send enough power to the amplifiers and speakers. Often, factory wires are too thin or too long to deliver the full current your setup needs, especially at higher volumes.
This common problem leads to car audio voltage drop, where power disappears along the way because of resistance in old or thin wires. The Big 3 upgrade replaces three main cables in the charging system with thicker, high quality wires. These changes reduce resistance and support stable voltage for your whole sound system.
- Alternator output cable from alternator to battery
- Engine ground cable from engine block to chassis
- Battery ground cable from battery negative to chassis
By improving these paths, you make it easier for current to move through the car. Even stock alternators work better, and you feel clear gains without major changes. These are some of the most important big 3 upgrade benefits for any serious car audio fan.
Why Your Car’s Electrical System Matters
Think of your car’s electrical system as the body’s heart and veins. If the veins are narrow or blocked, blood slows down. In the same way, thin or worn wires restrict the electrical current that feeds your stereo and amplifiers. When you upgrade the system, you help every part get the power it needs.
A stronger electrical base means less distortion and safer gear, even when you push the volume hard. It also supports every modern feature in your vehicle, from engine control to safety sensors. In addition, a solid alternator cable upgrade keeps power steady, so your car is less likely to suffer from dim lights or random screen flickers.
- Dimming or flickering headlights at high volume
- Slow or noisy power windows and locks
- Screens that flash or reset during heavy bass notes
If you plan a complete car audio system in San Francisco, CA, starting with the electrical system is a smart move. This foundation lets your new speakers and amplifiers perform the way they should, with smooth and reliable power.
Main Parts of the Big 3 Upgrade
The Big 3 upgrade focuses on three main cables in the charging and grounding system. First, the alternator output cable runs from the alternator to the battery. When you upgrade this cable, you reduce voltage drop and help the alternator keep the battery charged during heavy use.
Second, the engine ground cable connects the engine block to the chassis. Third, the battery ground cable links the negative battery post to the chassis. A strong path back to the battery is just as important as the power path out. Together, these changes build a safe and effective electrical loop.
- Use high strand, automotive grade cable
- Choose 2 AWG or 4 AWG for serious systems
- Secure cables away from heat and moving parts
Cable thickness is only part of the story. You also need quality ring terminals, clean contact points, and tight connections. When done right, these details support big 3 upgrade benefits by feeding your amplifiers with smooth, strong power and lowering stress on the charging system.
Big 3 Upgrade Benefits for Sound and Performance
When you reduce car audio voltage drop, your amplifier and speakers finally receive the power they expect. The result is stronger bass, clear mids, and crisp highs. Moreover, the music sounds more open and natural, with better separation between instruments and voices, even at higher volume.
Another major benefit is more stable lighting. Because the Big 3 upgrade stabilizes the electrical system, loud music is less likely to make headlights dim or flicker. This improvement boosts comfort and safety on night drives. With a Big 3 Upgrade for Car Audio in San Francisco, CA, your trips feel smoother and your electronics stay more reliable.
How to Perform a Big 3 Upgrade Safely
Step-by-Step Overview
Before you begin, park on a flat surface and turn the car off. Then disconnect the battery to avoid short circuits. Plan the cable routes so they have gentle bends and stay away from hot engine parts. This simple planning step prevents many future issues.
Start by installing the new alternator output wire from the alternator positive to the battery positive. Next, replace the engine ground wire and connect it from a clean metal spot on the engine block to the chassis. Finally, run the new battery ground cable from the negative post to a solid, bare metal chassis point.
Tools and Materials You Will Need
A successful Big 3 upgrade needs the right tools and materials. Heavy gauge 2 AWG or 4 AWG cable rated for cars is key. You also need quality ring terminals, heat shrink tubing, and, when possible, marine grade solder for strong joints.
- Wire stripper and crimper tool
- Heat gun and electrical tape
- Socket set and wrenches
- Battery terminal puller
- Digital voltmeter for testing car audio voltage drop
Cable ties help keep everything neat and safe along the route. This organized layout makes future upgrades easier. If you prefer expert help, you can also consider professional car stereo installation in San Francisco, CA to ensure clean, secure work.
Safety Tips for Working with Car Power
Working with a vehicle’s electrical system always calls for care. Wear safety glasses and insulated gloves to shield yourself from sparks or battery acid. Make sure your workspace is well ventilated and free of loose, flammable materials.
Always disconnect the negative battery cable first to break the main circuit. Never work on live wires or unprotected terminals. If you must test voltage, use a meter made for automotive use and follow the instructions closely. Also, keep metal tools away from both battery posts at the same time, so you avoid dangerous shorts.
While you focus on performance, do not forget security. If you want to protect your upgraded system, you may also explore car alarm installation in Fremont, CA to deter theft and safeguard your investment.
Mistakes to Avoid and How to Test Your Upgrade
Common Mistakes to Avoid
One of the most common mistakes is using cable that is too thin. Undersized wire limits the gains from your alternator cable upgrade and can even overheat. Always match cable size to your amplifier power and future plans.
Another error is poor grounding. Painted or rusty surfaces add resistance and undo the benefits of the upgrade. Instead, sand contact points to bare metal and tighten all bolts firmly. Also, avoid running cables near hot engine parts or sharp edges that can damage insulation over time.
Many people upgrade power wires but forget system matching. To keep everything balanced, it also helps to understand how your amplifier works with your speakers. For more guidance, you can review matching amp to speaker so your new electrical base supports a well tuned system.
Testing and Verifying Your Results
Once you install all cables, reconnect the battery and start the engine. Use a voltmeter to check voltage at the battery and at the amplifier power input. The difference should be very small. Ideally, any drop under 0.3 volts signals a healthy system.
Next, play your music at the volume you enjoy and listen carefully. Look for stronger bass and clearer detail with fewer dropouts. Watch the dashboard lights and headlights as well. If you see flickering or hear distortion, recheck every connection and ground point until the problem disappears.
Frequently Asked Questions
Do I need a Big 3 upgrade before adding a powerful amplifier?
In many cases, yes. A strong electrical base helps your amplifier perform as designed and reduces the chance of car audio voltage drop. By upgrading first, you lower the risk of dim lights and protect your gear from strain when you turn the music up.
Will the Big 3 upgrade improve sound with factory speakers?
It can still help. Even with stock speakers, better voltage supply often reduces distortion and keeps the signal clean. However, you will notice bigger gains when you pair the upgrade with quality speakers and a well matched amplifier, tuned for your vehicle.
Is the Big 3 upgrade safe for my alternator and battery?
Yes, when done correctly. Thicker cables and clean grounds reduce stress by lowering resistance in the system. The alternator and battery no longer fight to push current through weak paths. As a result, they often run cooler and more efficiently under heavy audio loads.
Can I do the Big 3 upgrade myself, or should I hire a pro?
Many handy drivers complete the work themselves with basic tools and careful planning. Still, working around high current parts is serious. If you feel unsure at any step, it is wise to seek expert help or choose professional car stereo installation to avoid mistakes and damage.
How do I know if my car in San Francisco really needs this upgrade?
Look for signs such as dimming lights, noisy accessories, or sound that weakens during deep bass notes. If you run multiple amplifiers or plan bigger upgrades, a Big 3 Upgrade for Car Audio in San Francisco, CA is a smart early step that prepares your vehicle for future power demands.
Elevate Your Driving Experience with a Big 3 Upgrade
Upgrading your charging and grounding system is a simple way to raise sound quality and driving comfort at the same time. When you choose a Big 3 Upgrade for Car Audio in San Francisco, CA, you cut voltage drop and give every part of your system room to breathe.
Whether you are a casual listener or a true audio fan, this upgrade delivers clear and lasting gains from the first song. If you are ready to plan your next step, you can contact our team in San Francisco and discuss the best path for your vehicle and listening goals.